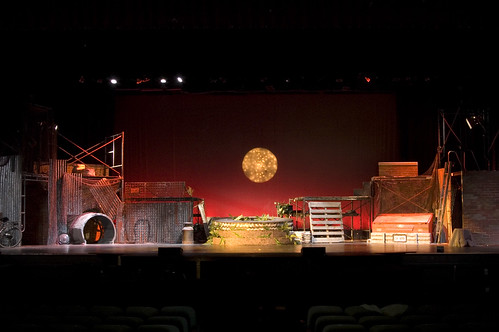
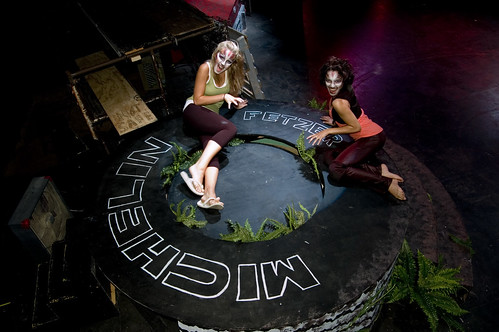
Our scene shop has never really been a "steel" shop. We typically work with wood and wood-based products (note the distinction). When we started looking at the set drawings for our March production of Twelve Angry Men it was pretty clear that we were going to be working with steel.
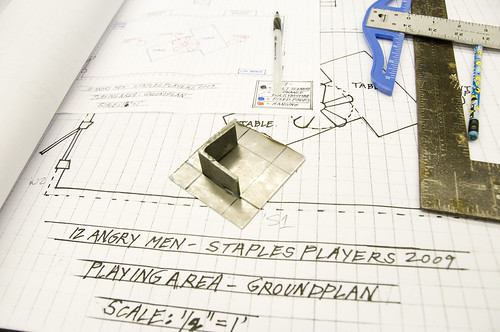
So, what are the processes that we use when working with steel? Well, they're basically the same processes as working with wood (cutting, drilling, attaching, etc.). These processes look a bit different when working with a mailable material like steel and therefore require different tools.
Cutting
Cutting is the first major difference between working with steel and working with wood. Inexpensive toothed circular saw blades don't do so well when trying to get through most steel, so we end up using an abrasive cutting tool - an abrasive chop saw. Abrasive cutting uses a rough cutting wheel that deteriorates as it cuts. The result of this deterioration is that, rather than getting duller, the cutting wheel gets smaller as you go.
When dealing with sheet metal, cutting with a wood-type jigsaw generally doesn't work very well because of tendency of the sheet metal to bend. Instead, the more consistent pressure of a band saw is generally preferable it tends not to bend the metal and avoids overheating due to large surface area of the blade.
Attaching
Attaching the metal to other surfaces is easily done using screws and bolts. Drilling out holes for bolts and screws is more time consuming and consumes far more drill bits, but otherwise is pretty similar. Attaching metal to metal can be done using bolts as well, but in this scenario we have a new process which has no analog in the world of wood: Welding.
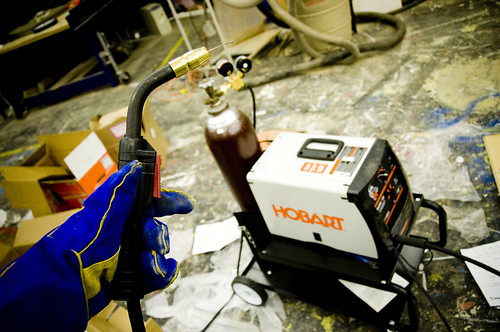
Welding, essentially, involves turning two pieces of metal into one. To do this we heat two pieces of side-by-side metal up, then join them by adding metal to both pieces until they form one new lumpy piece of metal. To do this we need a welder.
Our scene shop only has 120V power so I ended up choosing a Hobart Handler 140. For this show we need to be able to weld 1/8" steel - this is on the very outside edge of what 120V welders are capable of using gas MIG process, but the Handler can do it provided you take your time and go slow.
The MIG process is pretty simple. Filler wire starts to come out the tip of the gun when you pull the trigger. As the filler wire approaches the work piece a little lightning bolt shoots out and starts to heat both the work piece and the filler. If you do it right, the filler wire should go into the, now molten, work piece and allow you to build up the metal. If you build-up two pieces of metal at the same time, you've joined them together. Lastly, to prevent the hot metal from immediately oxidizing, all of this lightning bolt action happens inside an invisible plume of shielding gas (in our case Argon and CO2).
But, while the process is simple, actually welding two pieces of metal together can get pretty complicated. For starters there are four important variables: Gas Pressure, Wire Feed Rate, Wire Feed Pressure, and Current. Fiddling with these variables will yield different results depending on the thickness of the metal. Additionally, there is pure skill involved. That little lightning bolt likes to jump around - you need a steady hand, and lots of practice.
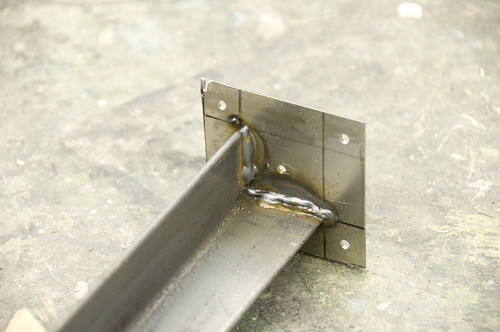
Now you've welded two pieces of metal together. But wait, there's more! How do you know the weld will hold? On the surface the weld looks good. There's no excessive oxidation, there are no gaps in the weld, there's no stippling or balling of the bead. That's all the information that you get by looking at it. Next step you can either X-Ray the weld, or you can beat the hell out of it and see if it holds. I'll let you guess which method we use.
Safety
Shop safety is our foremost consideration when doing any kind of work in the shop, and working with steel brings with it some new issues to consider.
The first, most general, issue is that metal tends to be sharp. Anyone who's ever gotten a metal splinter knows what I'm talking about. To mitigate this factor we make sure to dull down any exposed surfaces that have been cut in our shop and make sure to clean up after cutting or drilling metal.
Cutting metal on an abrasive chop saw has some safety issues of its own. Fortunately they're quite obvious to anyone in the vicinity of a saw. As the abrasive blade cuts through the metal it creates a shower of sparks and dust. This shower presents a hazard to both the operator and any bystanders. Bystanders need to keep their distance, the operator needs to wear long sleeves and pants, gloves and a face shield. Additionally abrasive tools should not be used around combustible materials or in the vicinity of volatile solvents.
Welding has a few safety issues associated with it as well. Welding creates heat and light. For the welder, heat is an obvious danger; it's why we wear gloves and use clamps. For the bystander it can be quite hidden. When a piece of steel has been welded it remains hot for some time - despite not necessarily looking hot. It's important that steps be taken to prevent bystanders from coming into contact with freshly welded metal.
The light created by welding has high ultraviolet content. It is therefore inadvisable to be directly exposed to the light cast by the welder. The operator is wearing a mask and gloves and sleeves to prevent exposure. Furthermore, its the operators responsibility to keep bystanders shielded from the direct light of the welder. Often, this can be as simple as avoiding reflective surfaces and keeping your body in between the weld and any bystanders.
Lastly, spatter from the welding presents the same types of fire hazards as operating a cutoff saw. Again, care should be taken to avoid situations that could result in fire. Additionally, consider that material you have just welded may be hot enough to start a fire and keep it appropriately safe.
*Important note: This is not a comprehensive list of safety considerations. Your mileage may vary.
Why Bother?
There are a number of reasons that having steel capabilities is a tremendous asset. In theater, one of the biggest is weight. Building structural objects out of steel can be done significantly lighter that out of wood. This is a crucial factor when designing large sets that need to be moved around or flown out.
Uniformity is another factor. Consider that when you purchase board lumber you're generally getting a natural product and as such it tends to have warps and bends. Warps and bends can really mess things up when you're dealing with close tolerances.
That having been said its important to maintain a balance. Carefully evaluate your material selection and, when choosing steel, be sure to factor in the safety considerations when making your choice.
In my environment I further have to weigh the fact that this is a high school shop and that therefore there are bound to be students involved in the process. At the moment I've decided to operate the steel tools myself and have the students facilitate the process. This takes away the "Operator Risk" and makes me responsible for minimizing the "Bystander Risk". I'm okay with that responsibility.